Learn how to conceal any text within any file in a safe manner.
Every one of us has sensitive data that we would want to store and conceal from prying eyes.
The need for doing so often leads to different ways of storing passwords for our various online & offline accounts and activities.
Steganography comes into the picture when we dive deeper into finding more obscure ways of concealment.
We can use steganography to hide text and messages within any digital file we want, and the observer will unlikely detect with the naked eye.
This article will teach you how to add your secret message and mask it inside an image file.
Step 1: Decide On Your Image File To Use
Go for a JPG image file as it will be easier to input text and appear innocently as a regular image file.
How do you know if an image is a JPEG format?
By looking at its filename, you should get an extension ending with .jpg. An example will be “filename.jpg”.
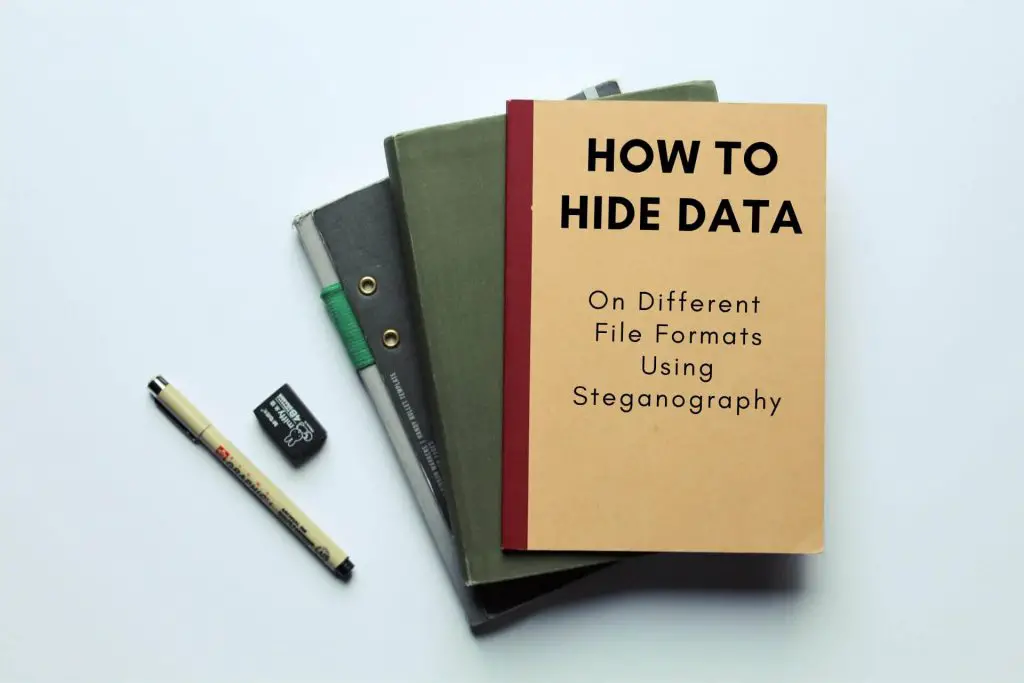
An example will be this image file that has a filename that ends with a .jpg extension.

This can be your self-taken photo or some JPG image downloaded online.
Step 2: Download a Reliable Free Hex Editor
Some of the best Hex Editors out there is free and open source.
For Mac users, download Hex Fiend
For Windows users, download HxD
Hex editors are mostly freeware, free for personal use, and enable us to edit the binary data of any digital file.
By allowing us to edit, this function will help us add any text to the image file of our choice.
Step 3: Open Image File with Hex Editor
Open your Hex Editor
Go to File > Open File > and select your image file.

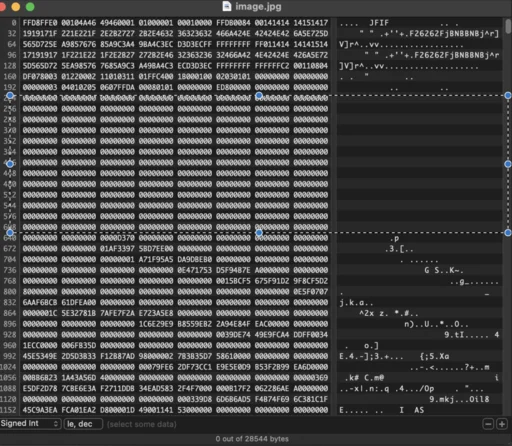
In most image files, you will see a chunk of zero bytes like the illustration shown below;

A box had been drawn over a block of zero bytes (see image above) that you can use to input your hidden text.
Most hex editors split into two (2) views.
The left is the hexadecimal view. The right is the ASCII view (where we write our hidden text onto)
Take note
- Do not write at the beginning of the sector as this may cause the file to be corrupt and unable to be opened.
- Only write on the chunk of zero bytes, to be safe.
Step 4: Enter your Secret Text
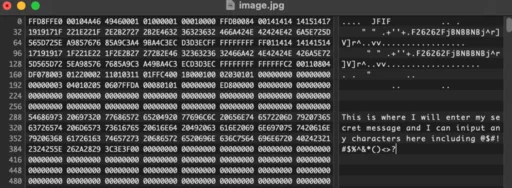
Start writing your text on the ASCII view (right column) of the Hex editor.
Your characters will appear as you type along.

Step 5: Save & Test It
Once you are done, you must save it and close the Hex editor.
That’s it. You had successfully hidden your secret text message inside an image file using a Hex editor.
When you re-opened and viewed your image file, it will open naturally as it is, without revealing the hidden text within.
An observer’s only way to know is to open it up using a Hex editor and examine the ASCII view.


